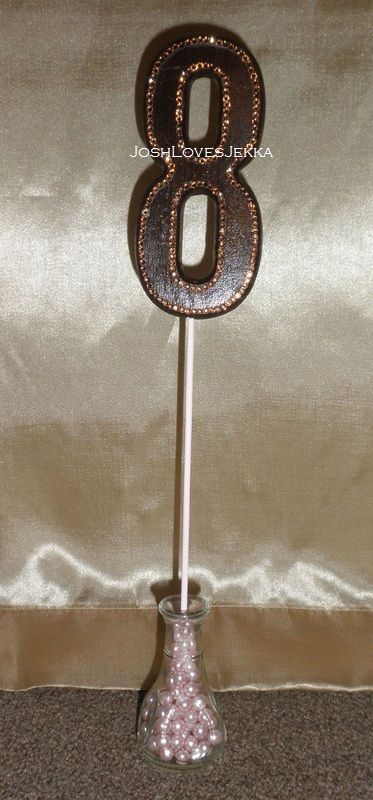
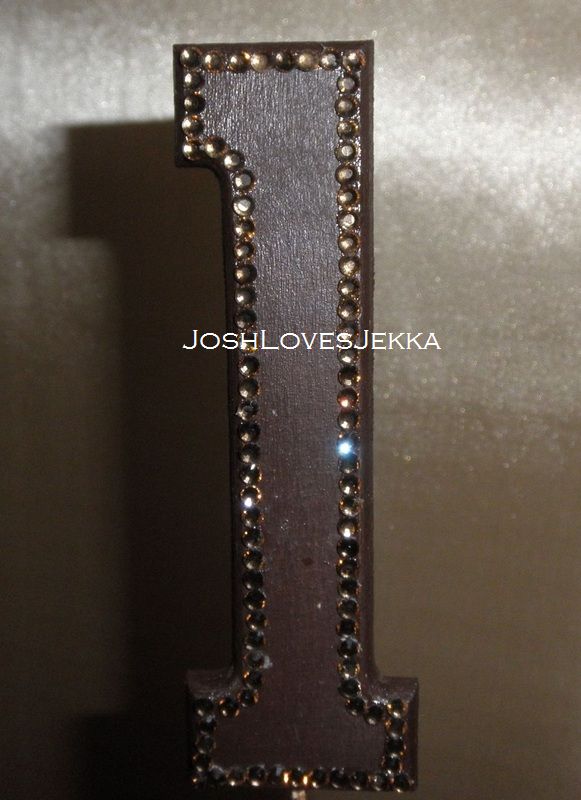
Our new and improved table numbers
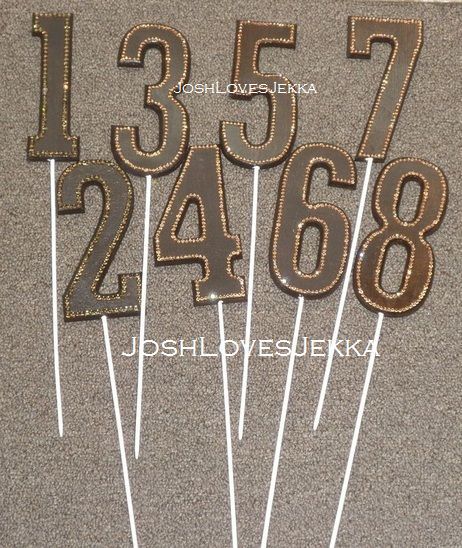
After looking at my original table numbers for a week or two, I absolutely hated them! So I'm using an inspiring piece from Knottie gailpete. A MOB who helped with her daughter's wedding. You see her bio here. I'm thinking about filling in the back and sides with glitter for that extra bling; but as usual, i'm not 100% 0n that!
I got the numbers from HL for $.99 each. The rhinestones are from ebay seller bead_better. I got 1000 flatback rhinestones for only $2.69. I had several things on hand: acrylic paint, 10 in 1/18 wooden skewers and some clear spray paint too.
Josh drilled 1/8 in holes in the bottem of the numbers, I used Elmers Glue-All glue to stick the skewers in, then let it all dry over night. Then I painted the numbers with the brown paint, letting them dry completely between coats. I think I used 3 coats. I didn't like the matte look so I used the clear coat to make it a little shine. I then left them alone for a few days. My first attempt was with my trusty Elmers, but I didn't like the way the glue dulled around the edges. It was hell getting them off! So off to Walmart I went for clear glue. I didn't want to buy something I wouldn't use again so instead of E6000 I got Clear Tacky Glue. It was around the same price, but it can be used on fabric too. I used tweezers and placed the rhinestones on a thin line of the glue I was able to put down.
The skewers are painted a very light pink (although it looks white in the photos!)
I'm really happy with the results and the price, only $1.70 each! And FREE for the kids table! Every thing used on them was left over pieces from other projects!

Our toasting glasses
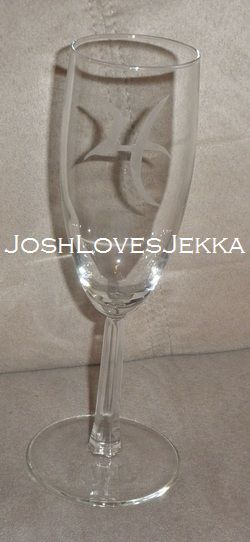
I etched our "4E" symbol and a mirror image of J+J on them.
Cost for custom etched glasses: $5.90!
I purchased the glasses from Goodwill for $.25 each, and $5.40 for the etch cream at HL with a 40% off coupon!
* Insparation from this piece is from Knottie ~mRm~ *
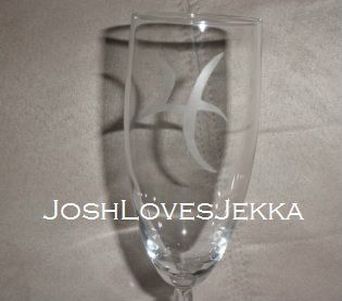
Close up of the 4E
|
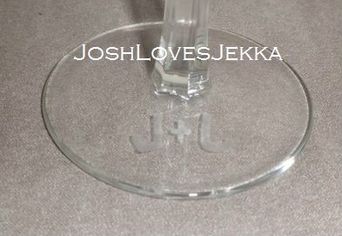
Close up of the mirror image of J+J
|
The vase for our memory candles
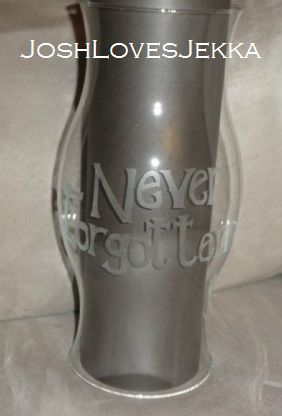
My Grandmother and his Grandfather will be in us in spirit. Our display will have picture of us with our grandparent and a poem. The vase was etched with Never Forgotten and will hold two taper candles in them.
Cost : $1 for the vase at a local yardsale, Armor Etch cream was purchased for another project so FREE!
Stir sticks
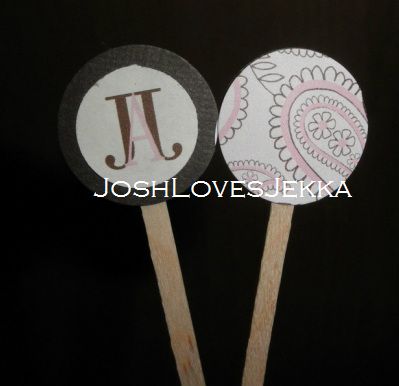
I've been seeing these floating around the knot and had to do them! I got the 5.5 inch sticks from Staples while ordering my postcards! I used a 1" hole punch for the brown cardstock and pink/brown paisley papers and 3/4 hole punch for the monogram. I first punched out all the circles and laid the pink and brown ones on the table in sets of 5. I put hot glue on the brown cardstock, secured a stick in the glue then used that to "flip" onto the pink paper face down. The monogram then was stuck on after it was fed through the Xyron. This is not a project for the faint hearted!! Overall, it took me 9 hours to complete the project in one day. Only stopping for Mt Dew and potty.
Cost breakdown: $1.40/350 or $0.004 each! $4 for 1000 sticks and everything else was left overs from my invitations!
* Inspiration for this project goes to swiatebride*
The Kid Survival Kit (in the making!)
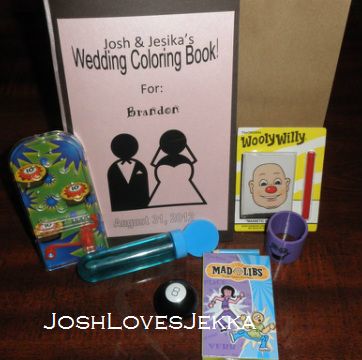
Just a little something to keep our little guests occupied! So far we have a mini pinball game, a custom wedding coloring book, a Wooly Willy game, a tube of bubbles, a magic 8 ball, Mini Mad Libs and a slinky for each child attending under the age of 14. The bag will have the child's name and an explination for the bag. (You can see it in paper.)
As it stands the cost:
(3) 4 pks of bubles $1.50 or $0.13 ea (WM)
(3) 4 pks of Mad Libs $1.50 or $0.13 ea(WM)
(3) 4 pks of 8 balls $1.50 or $.13 ea (WM)
(3) 4 pks of Wolly Willy $1.50 or $0.13 ea (WM)
(3) 4 pks of pinballs $3 or $0.25 ea (DT)
(1) 12 pk of slinkys $3 or $0.25 ea (HL)
(6) 2 pks of bags $6 or $0.50 ea (DT)
With the crayons and the coloring books the cost total, so far is $4.35 each kid survival kit!
The crayons for Kids Survival Kits!
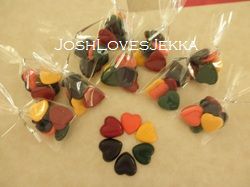
I LOVE them! Josh and I used crayons we had on hand (with kids we buy crayons often!) and only had to get a few things to help me finish them. We used this method to melt them and poured them into heart shaped molds.
Cost: $2 for the paper cups, $1.25 for the mold, $1.75 for the bags. $5 for the total 14 or $0.36 each!
Our centerpieces so far...
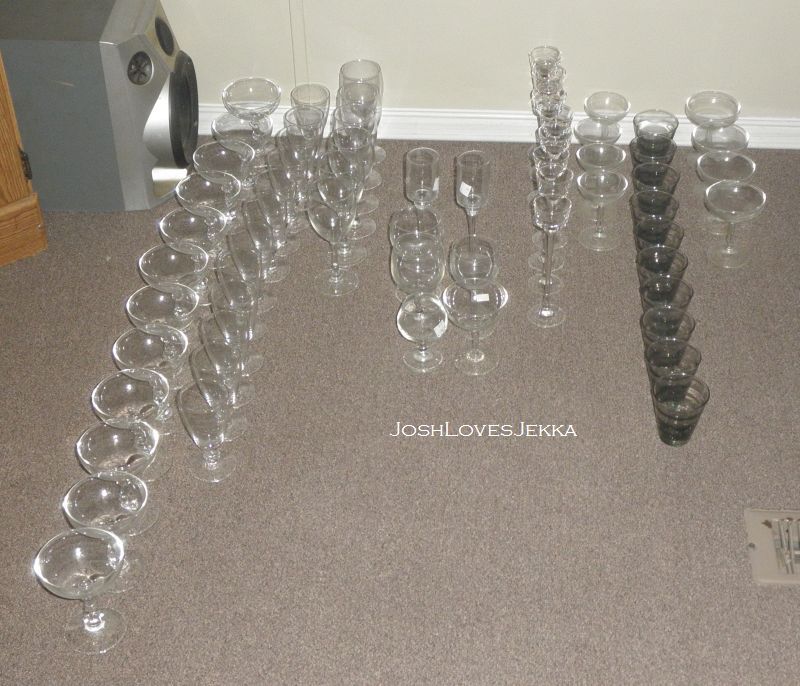
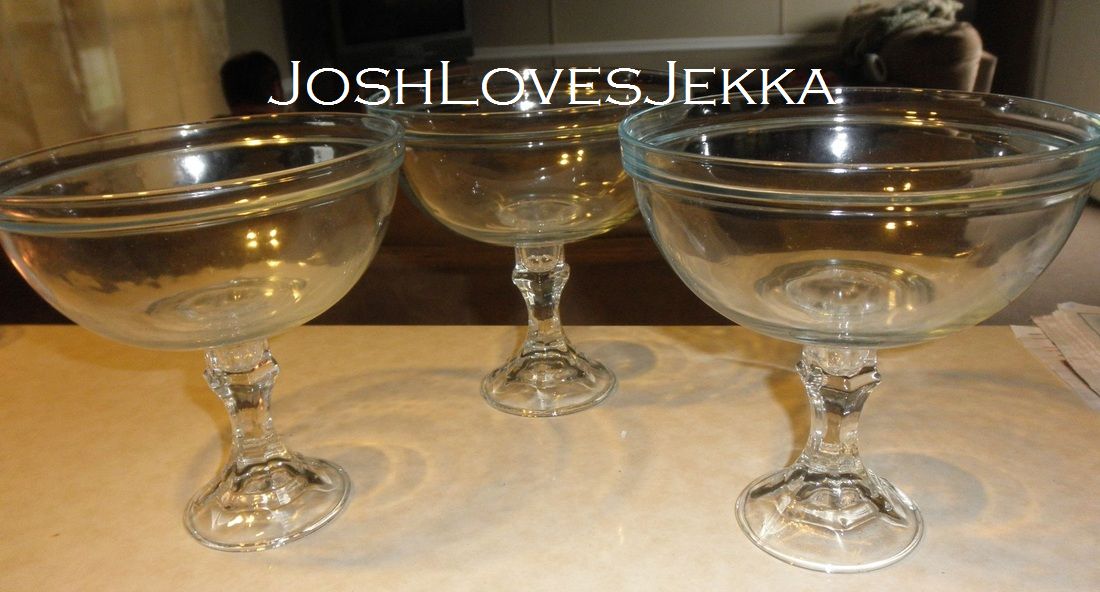
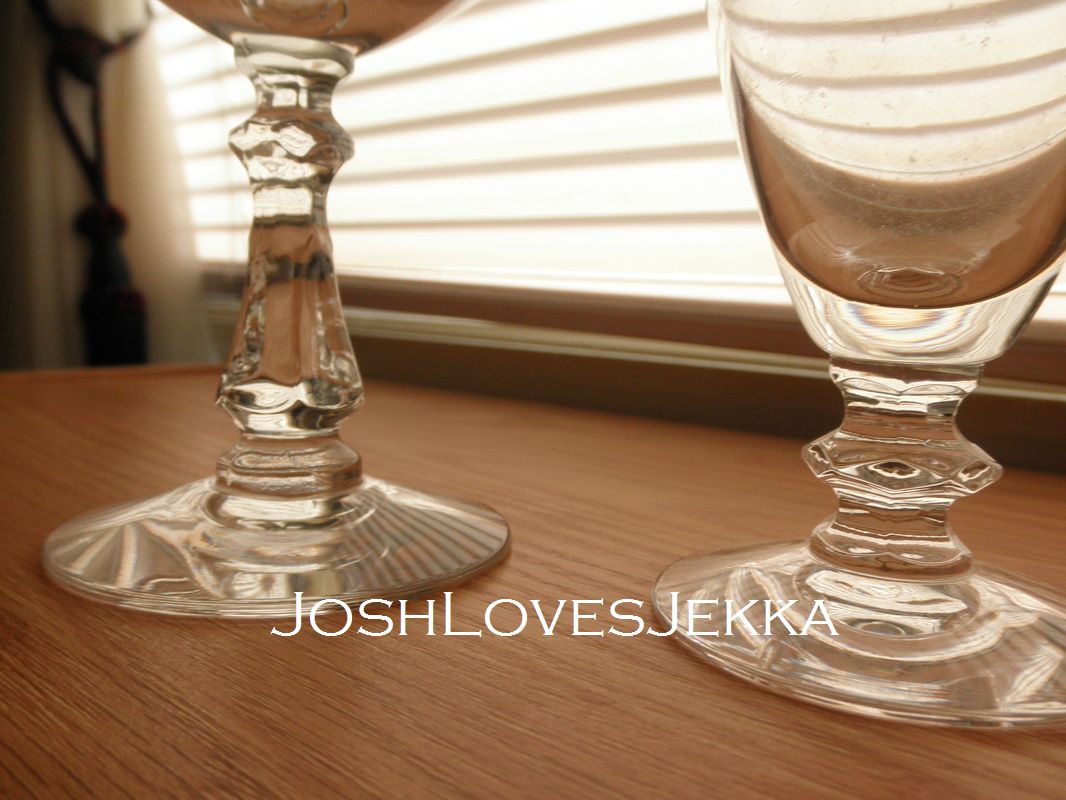
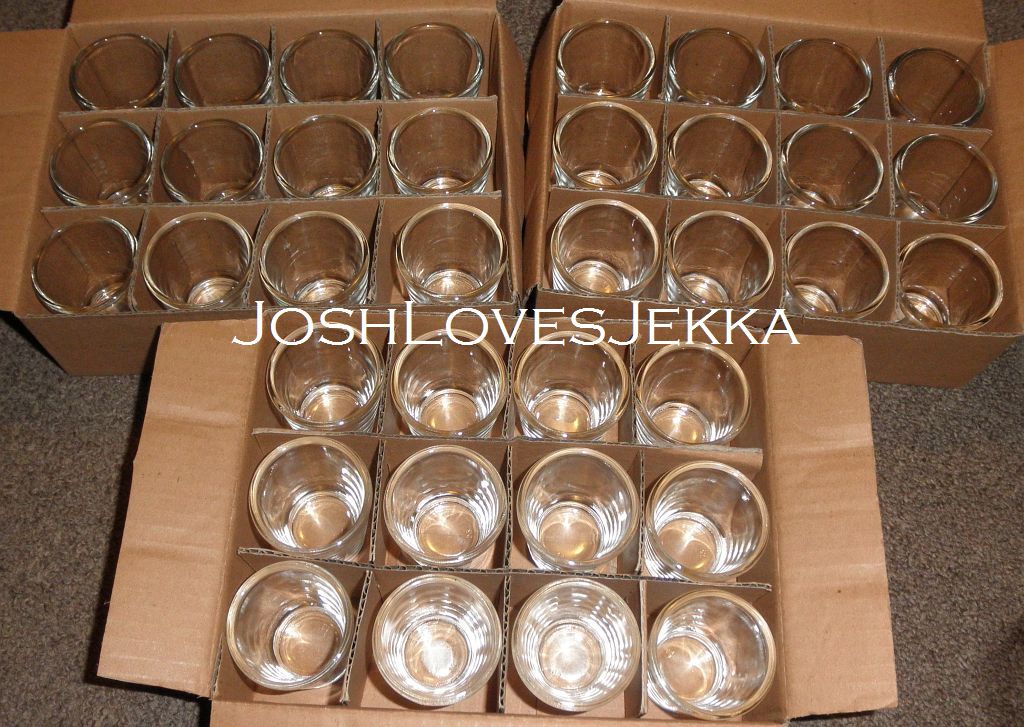
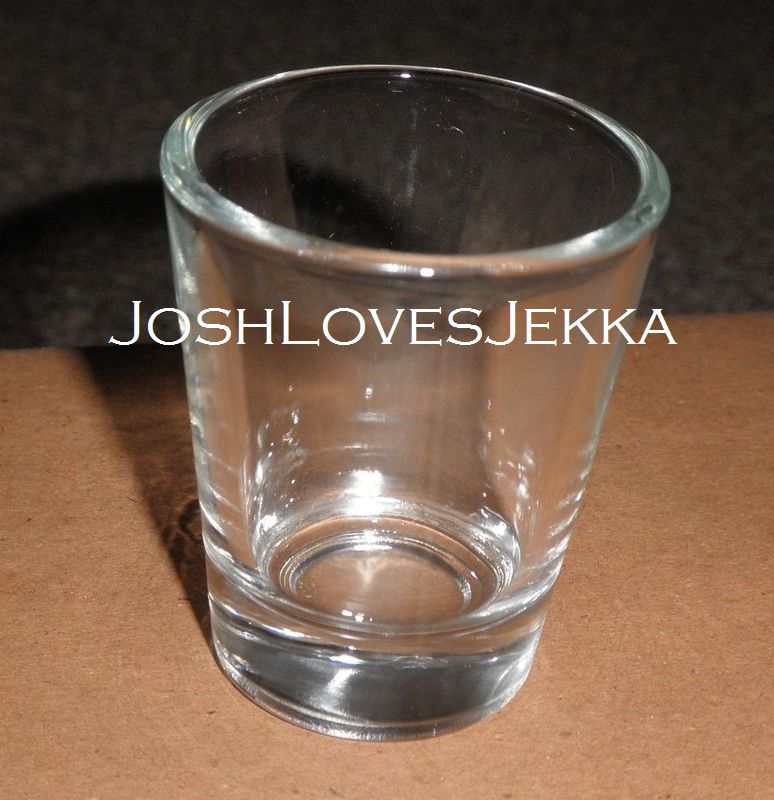
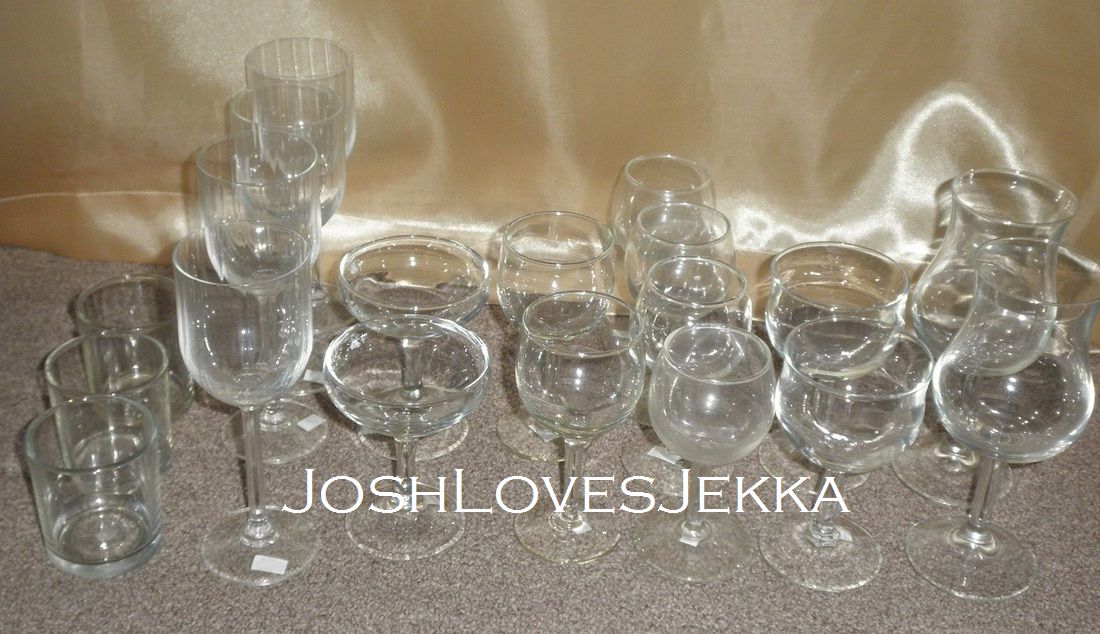
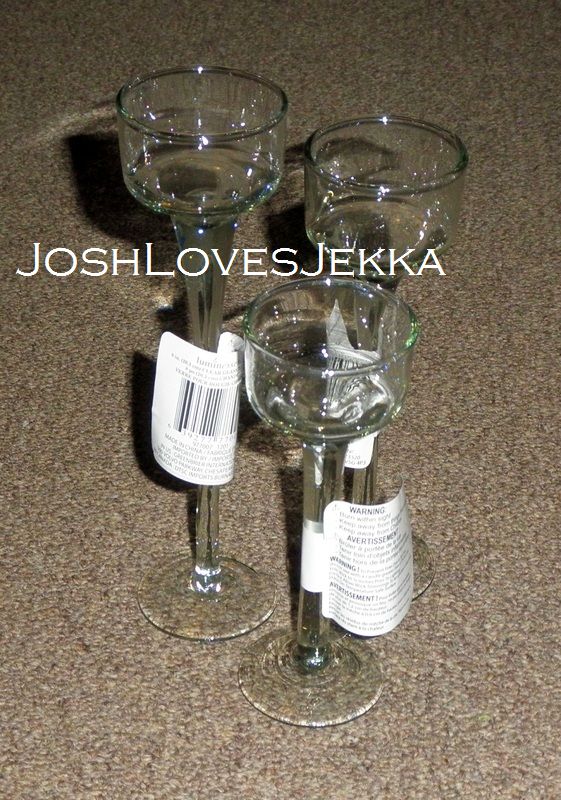
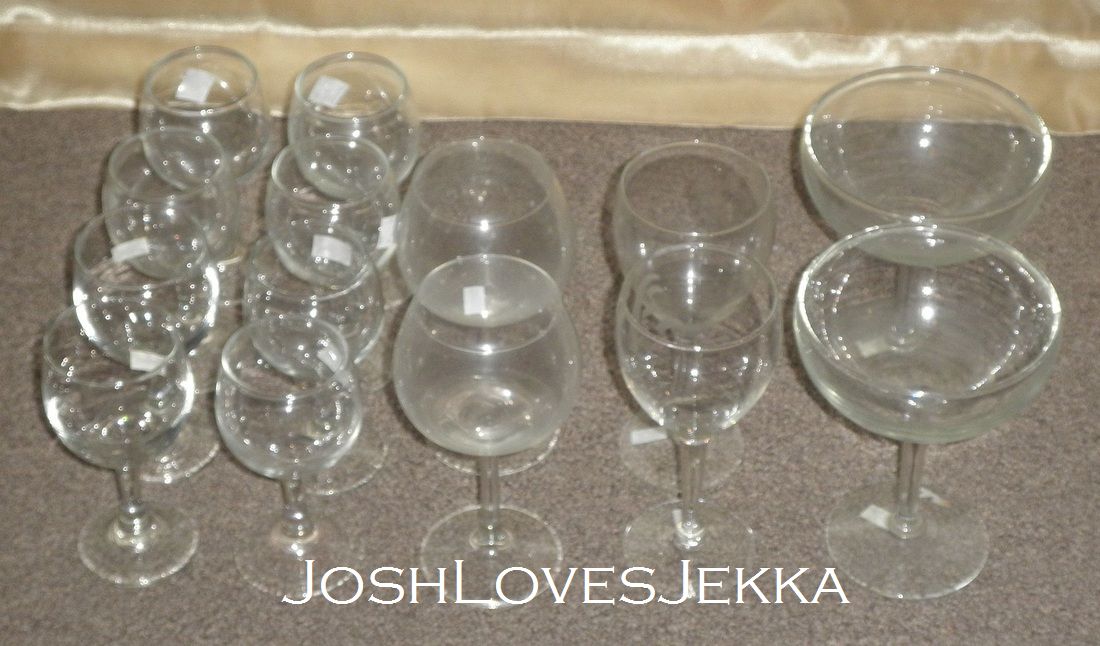
I've been collecting glasses from all over the place since February 2011! We currently have a total of 173 glasses that cost $100 breaking down to $0.58 each! Some have been purchased at yard sales, thrift stores, consignment stores, Craigslist and even DIY! My personal favorite are the DIY champagne glasses. Oversized champagne glasses cost a fortune and they aren't that pretty! As you probably already realized, I LOVE my DIY!! Josh and I made these together. We got candlestick holders and 7 inch bowls from DT and used glue to put these babies together! They look really close to some of the stems of the champagne and wine glasses pictured above and will look awesome with floating candles in them!
Placemats
I am SOOOOOO excited about this project! I hope to get 1/2 the project done before my next set of surgeries, but I'm going to have to go over the original time limit of 4 hours a day. I'm probably going to work on them for 6-8 hours depending on my available time.
Josh and I picked out the pink because I wanted brown tablecloths for the reception tables. They are 16 1/2 by 10 1/2. We decided to scale them back from a normal size (18x12) so that they won't interfere with the centerpieces but still be a useful size.
Due to the fact that it's not a 100% completed project I can't give a price estimate, but so far the cost for the materials is $27.55 for 8 yards of the pink broadcloth, 8 yards of buckram for interfacing and the perfect matching thread (which took 30 minutes to find!!) I'm not quite sure how many I will get from the fabric, but will update as soon as I can.
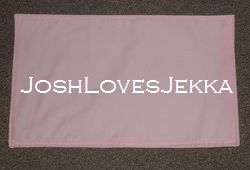
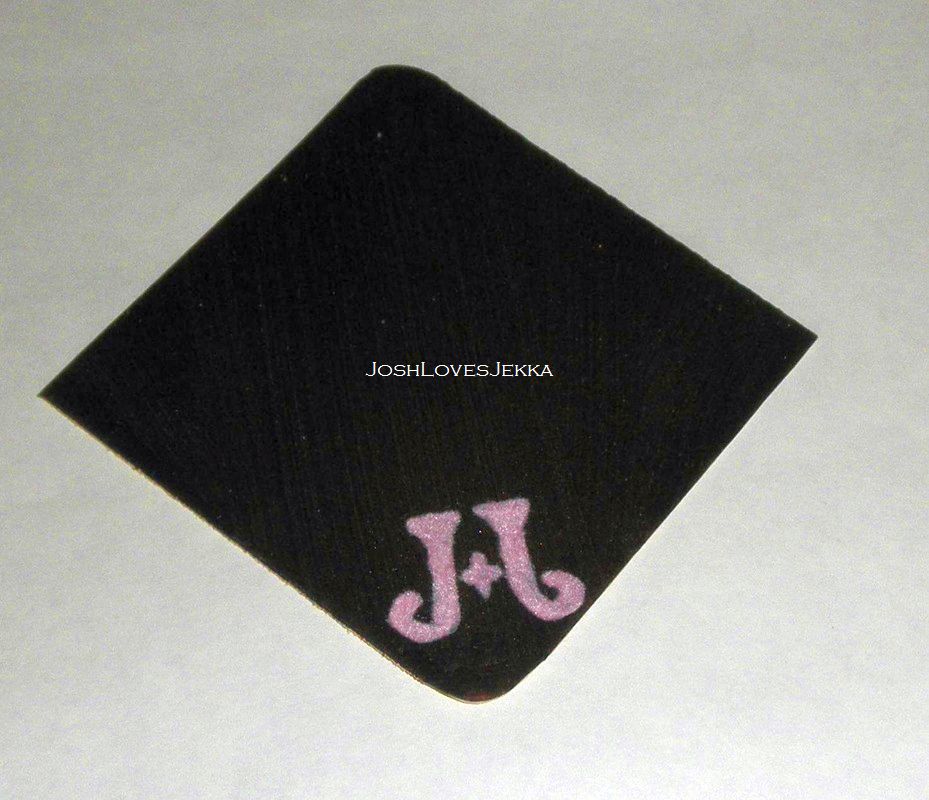
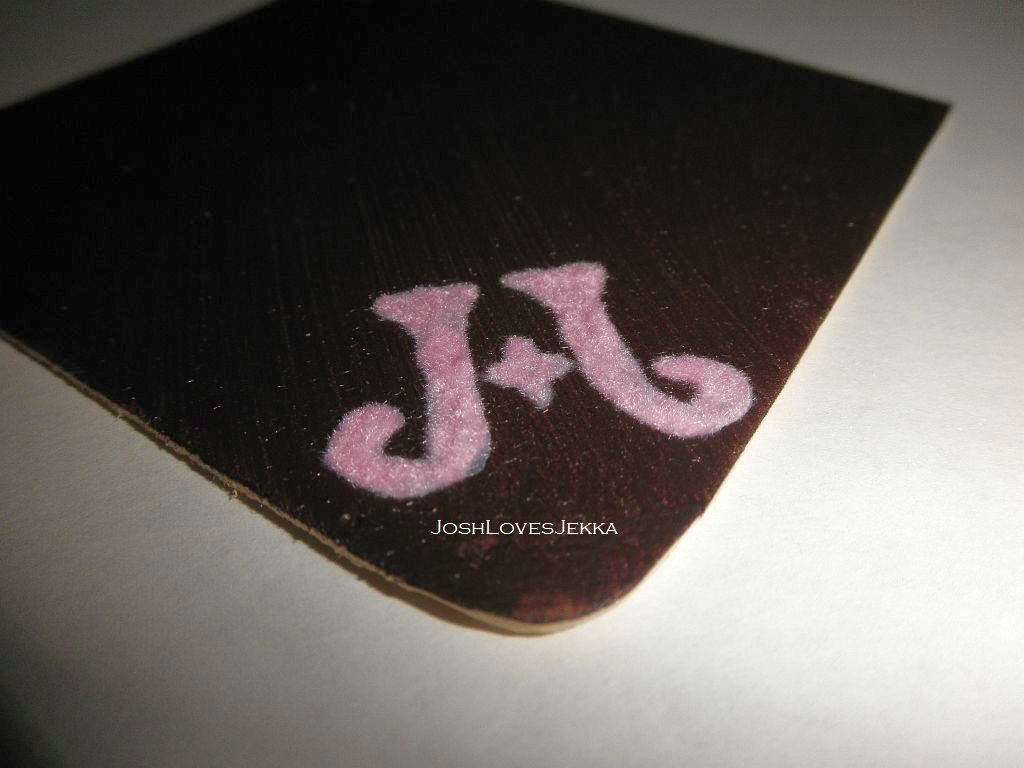
Bar coasters
I could never regret any of my DIY projects, but came close to giving up on these! I ordered 30 12x9 sheets of foam sheets from ebay ($5.25-shipping included-from *this* seller) and cut them into 4x4 squares. I then mixed Mod Podge ($2.78) with Espresso paint I got at WM ($1.97) and painted each and every one of them by hand with the mix. It basically guaranteed that they would be water proof. After going over corner options with Josh, he decided that he liked the 2 rounded look, so I picked up a corner punch for $4 only to find out that the foam was too thick to use. So I rounded a piece of scrap cardstock and had rounded 2 corners on each and every one of the coasters. I ordered a pigment ink pad from *this* ebay seller ($3.49, free shipping) and made a stamp from erasers (using *this* tutorial). I then stamped each of the 120 coasters with our monogram and got the not so bright idea that they needed something more. I was going to emboss them, but read that embossing enamel + heat gun + foam = VERY BAD IDEA. I was sad at first but then came across "flocking". The best part about it is that it's fuzzy! But it wouldn't stick with the ink alone so I ordered the flocking and a ink re-fill from *SimonSaysStamp.com* for a total of $6.48. I mixed the ink with a tiny bit of Mod Podge to make it tinted glue and painted it on with a brush. Then flocked the coasters.
It took 3 weeks to finish the whole entire project. The total cost was $24.47 or $.20 each fuzzy little coaster. Time wise I lost out, BUT I do love them. And when our guests see them I'll be proud to say that I made them!
|
|
Cake table napkins
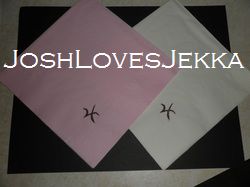
Very simple and very cheap! I got 3 packs of each pink and ivory napkins from DT and made the stamps using the same tutorial I used for the coasters. I got my ink pad from an ebay seller I can not in good conscious promote to my fellow DIYers. The cost was only $4.99 though.
It took about 2 hrs to stamp all of the napkins so a win-win on this one! Total cost for 168 napkins was $11.49 or $.07 each!
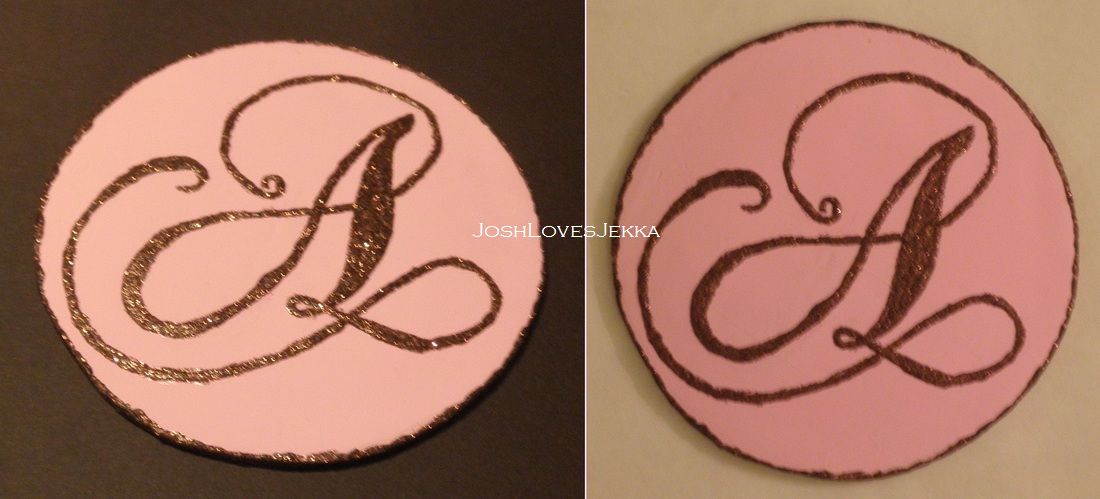
Our cake topper
|
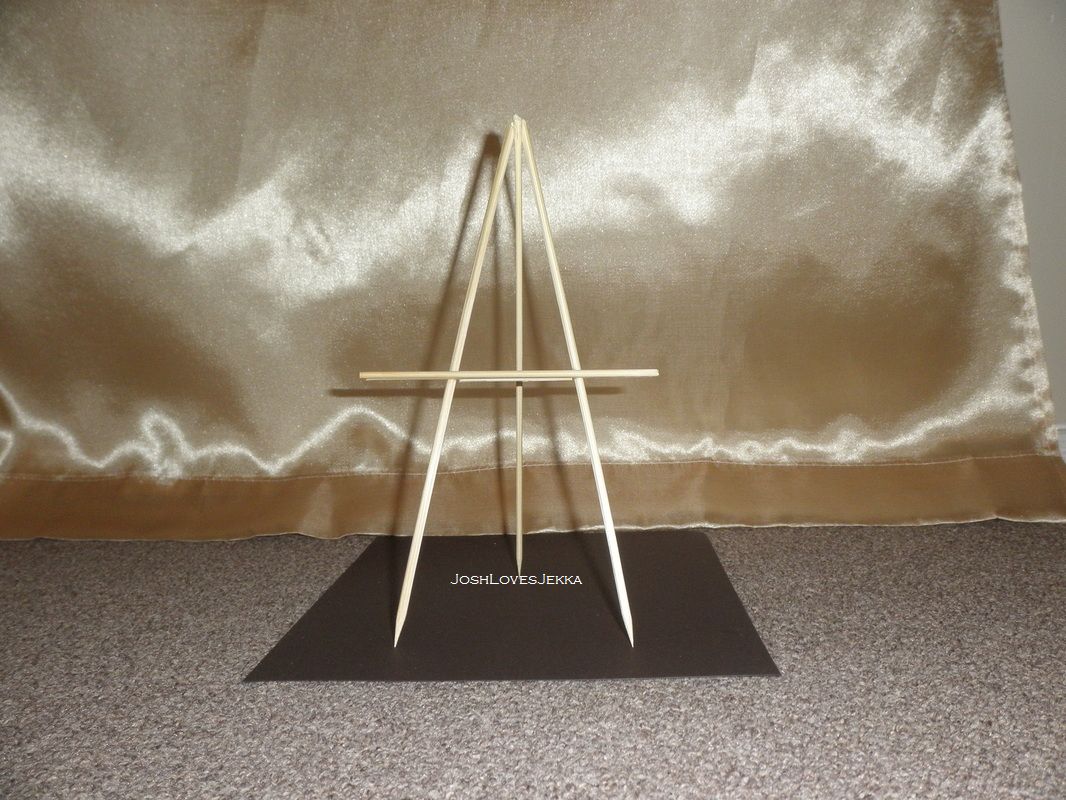
I love our cake topper! It's totally inspired by Hannah (Knottie *hz80408*) I showed Josh 4 different styles and he liked hers the best. Then it was down to the font. Choppin was the one he liked from *DaFont.com* His only request was he wanted a "really fancy letter". Working off of that, I scrolled and scrolled and scrolled through fonts! I picked 3 for him to choose from and Choppin is what he liked. Since we are having cheesecake as our wedding cake (totally his choice, but I wasn't going to dissagree!) we had already decided to do a small cake for us to cut and have cheescake and cupcakes available for our guests as well as a "cake bar" so everyone can choose a topping that they like the best. I didn't want the topper to be too big to fit on the cake so it's only 4 inches. I used left over clay from the ring dishes, pink paint I had on hand, and Mod Podge that was purchased for the coasters. The only thing I had to buy was the glitter that I got from *SimonSaysStamp.com* for only $5.99 (free shipping). I painted the clay then after it dried I traced a flipped image of the letter onto it. I painted several layers of the glitter glue on. By the time I got to the end the top was dry so it actually went relatively quickly, about 2 hrs. I couldn't figure out how Hannah mounted hers so I made a little easle from bamboo skewers! Overall cost: $5.99! |
|
